
CrowdGlow SDK
The CrowdGlow SDK allows you to easily embed CrowdGlow functionality into any iOS or Android App. Simply copy and paste a few lines of code and setup some config files and you’re all set! Full sample apps are provided in the SDK download below:
CrowdGlow SDK Overview
The CrowdGlow SDK is simple to integrate with any iOS or Android application. The sample apps are the best reference on how to integrate CrowdGlow into an app. We provide 1-2-1 developer support for our SDK, if you require any assistance or have any questions at all please contact joe@crowdglow.uk
The SDK is very simple, it only consists of two views:
CrowdGlowView
This is the main view that will display all of the colours & effects on the users phone screen. It is a fullscreen view, that should be placed at the highest Z index of your app. It is fully transparent both visually and to any gestures or taps. It will not affect your underlying app in anyway. This view only becomes visible when the app receives a CrowdNet signal and active colours or effects are being shown.
CrowdGlowStatusView
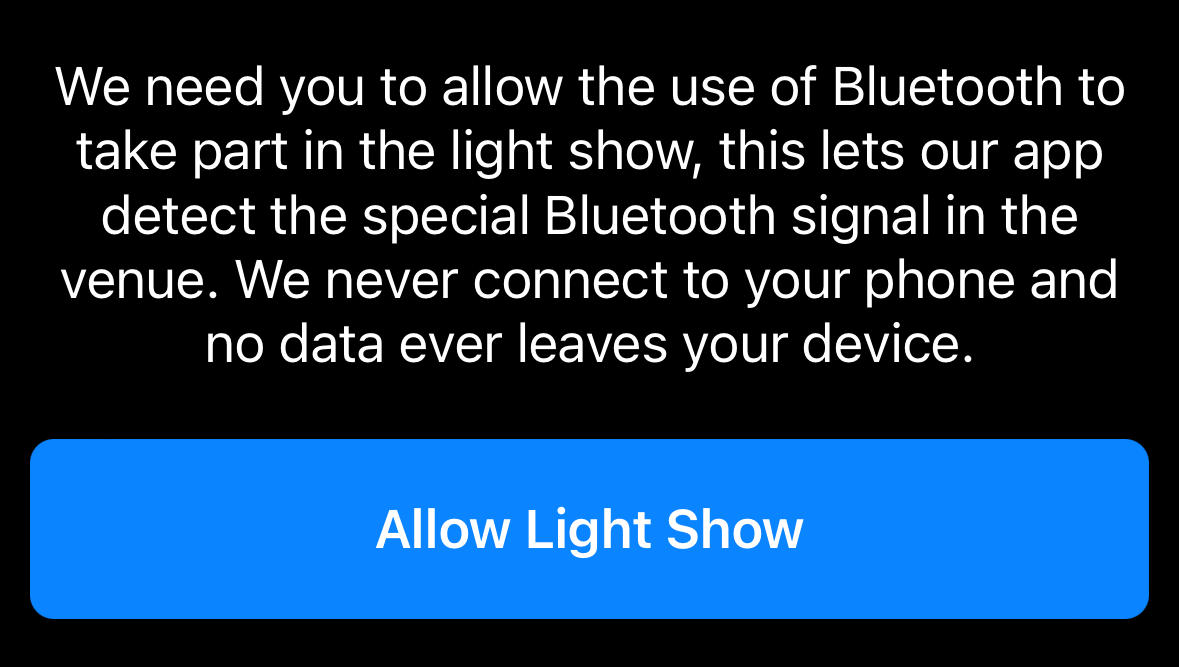
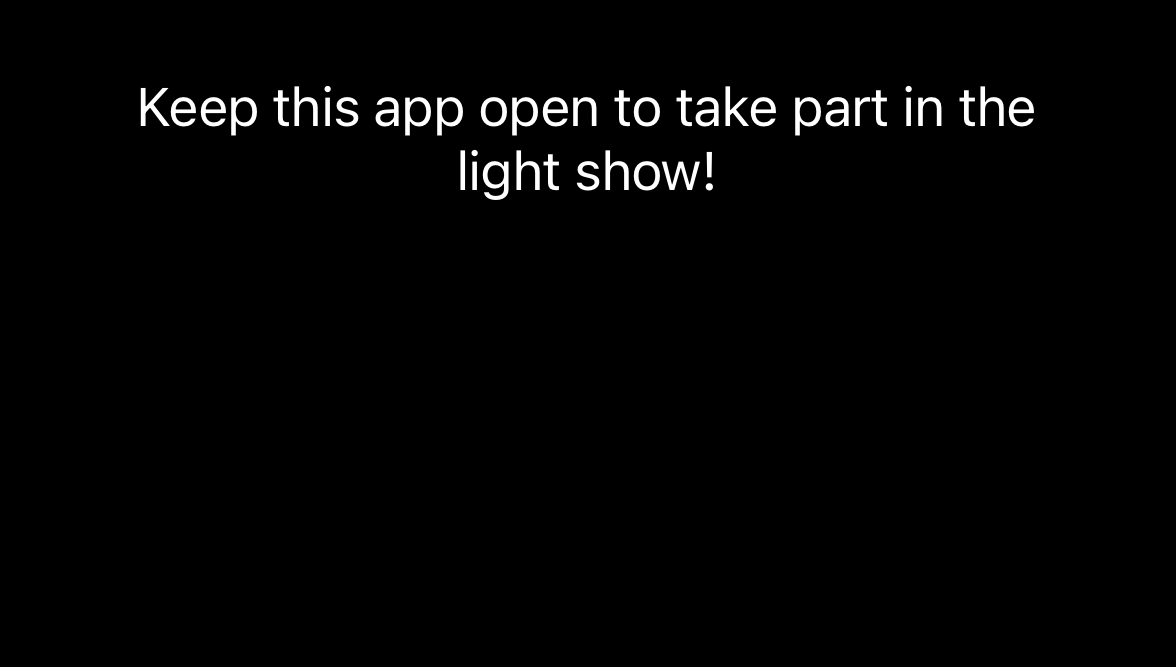
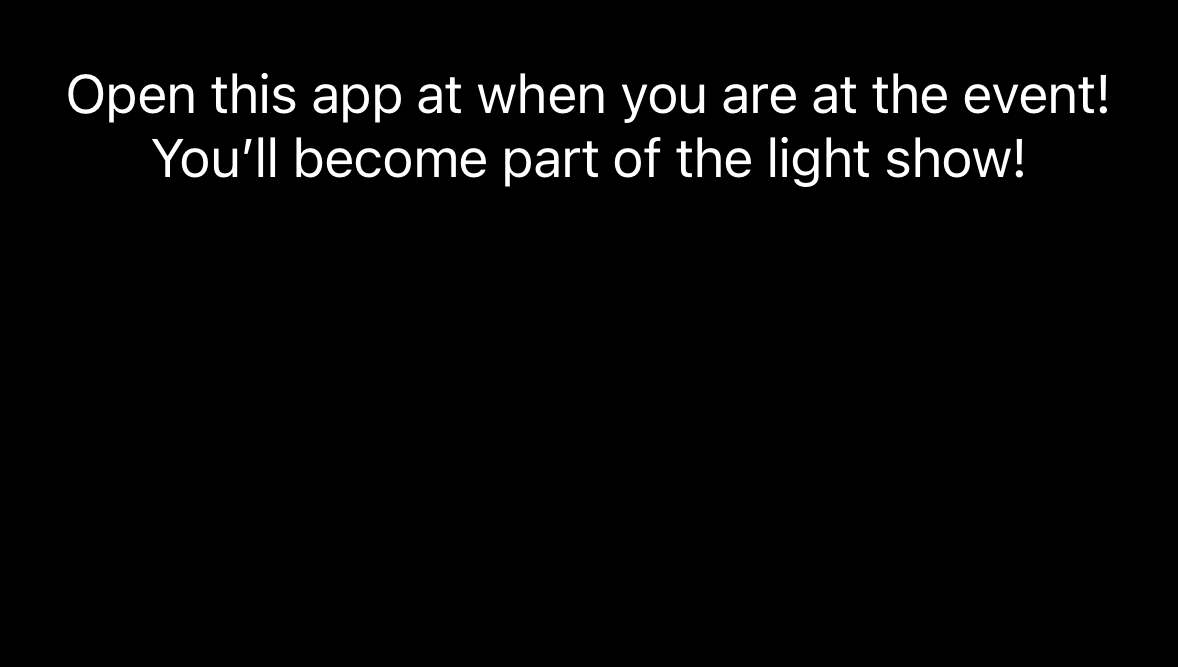
This is the only visible piece of UI that CrowdGlow requires to be in your app. It is a single view with a status label and sometimes a button depending on the state. It initially onboards the user by asking them to accept the required bluetooth permissions to take part in the interactive light show, and if accepted it will let the user know to open the app when they’re at the event. It will change to a “keep the app open” message when it is currently receiving a CrowdNet signal.
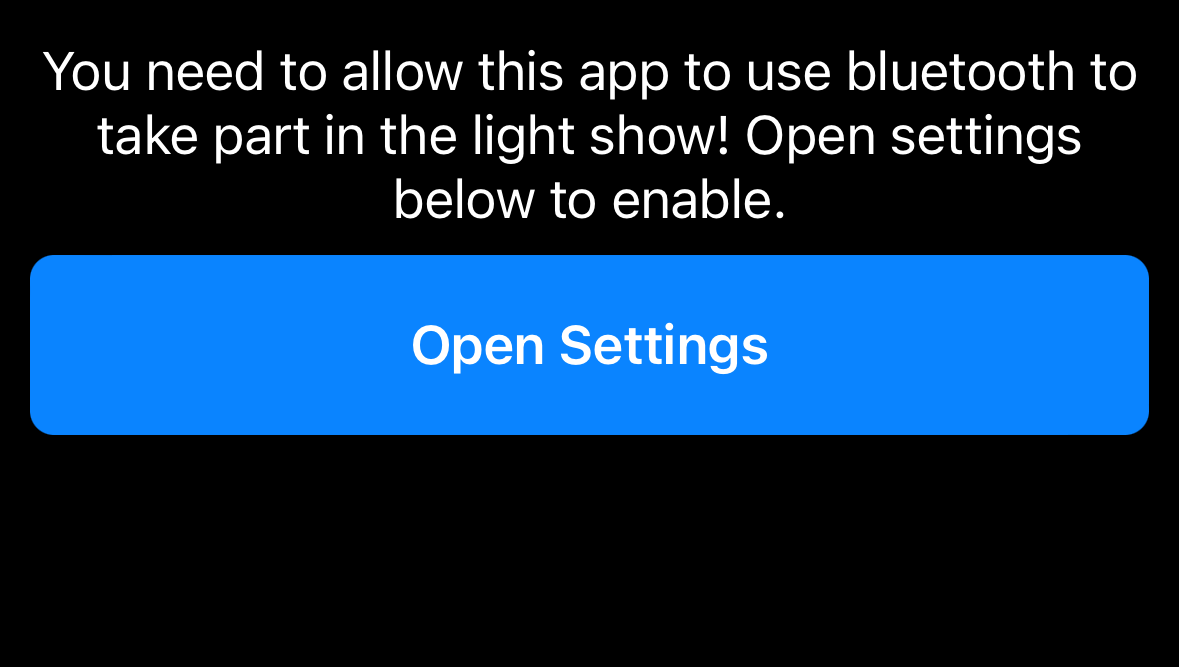
The status also handles all error states and guides the user on what they need to do. E.g. bluetooth is turned off or they denied the permission. An open settings button will appear if they have denied the permission and take them to the app settings to enable it manually.
You can pass in the colours of the status label, button background and button text to match your apps design. You can also set the font sizes, font type and the button height. The status view has a transparent background.
We recommend you creating a “Light Show” section or banner in your app that displays this CrowdGlowStatusView. It should be easy to find in your app, as the user needs to enable the light show once to take part. After they have enabled the light show, they can be anywhere in the app and the light show will still work as expected.
Localisation
The CrowdGlow SDK is fully localised and supports the following languages:
English, French, German, French(Canada), Danish, Italian, Swedish, Spanish, Turkish, Thai, Spanish (Mexico)
Additional languages can be added at your request.
iOS - Getting Started
Step 1: Add the CrowdGlow framework into your app
Add the CrowdGlow.framework folder from the SDK to the root level of your xcode project

Step 2: Add CrowdGlow to your Swift Bridging Header
If your Swift app doesn’t already have a bridging header, add a new Header file to the root of your xcode project with following name: YourAppName-Bridging-Header
Add the following import line to this bridging header:
#import <CrowdGlowSDK/CrowdGlowSDK.h>
Step 3: Add the CrowdGlow View to the root level of your app
Add the CrowdGlow View to the top level of your app. It should be placed on top of all over views at the root level of the app (For example using a ZStack). It is fully transparent and will not block any taps or gestures to your app beneath it. It will only become visible when it receives a light show signal from the CrowdGlow system.
                @State private var allowsHitTesting = false

                let crowdGlowView = CrowdGlowView(
                    onLightShowStarted: {
                        allowsHitTesting = true
                    },
                    onLightShowStopped: {
                        allowsHitTesting = false
                    },
                    apiKey:"CROWDGLOWAPIKEY",
                    allowedTransmitterIds:[]
                )

                crowdGlowView
                    .onAppear {
                        crowdGlowView.start()
                    }
                    .allowsHitTesting(allowsHitTesting)
                    .edgesIgnoringSafeArea(.all)
            }
Step 4: Add the CrowdGlow Status View
The CrowdGlow status view can be placed any where you wish in your app, it is a simple status label and button depending on the current CrowdGlow status. It should be placed in a logical location in your app, so the user knows when / where at your event they can use the light show. Ideally this should be a light show / event specific section of the app, and easily found as the user will need to find this status view and tap the “Allow Light Show” button once to be able to take part.
You can pass in colours for the text and button, the view has no background so can easily fit in within your existing app design.
                            CrowdGlowStatusView(statusTextColour: .white,
                                                statusTextFontName: "Helvetica",
                                                statusTextFontSize: 18,
                                                statusTextAlignment: .center,
                                                actionButtonColour: .systemBlue,
                                                actionButtonTitleColour: .white,
                                                actionButtonTitleFontName: "Helvetica-Bold",
                                                actionButtonTitleFontSize: 18,
                                                actionButtonHeight: 60)
Step 5: Copy Gobo assets
Create a folder called Gobos at the root level of your xcode project, copy the gobos from the iOS SDK folder into here. You may customize or add any additional gobo files up to a maximum of 255 png gobos.

Step 6: Add bluetooth permissions to your app properties
The CrowdGlow SDK requires a bluetooth usage description to to be added to your Info.plist / Apps Info properties. The wording provided can be translated in your apps native language, however the phrasing has been shown to be accepted by Apples review process.
Key: "Privacy - Bluetooth Always Usage Description"
Value: "To take part in an interactive light show by detecting the CrowdGlow bluetooth signal at events. No connection is made directly to your phone, and no data is collected."

Step 7: Test & Build your app for the app store
You can now build the app and test the functionality using the CrowdGlow demo transmitter that we have sent you. Additionally, please invite joe@crowdglow.uk to the test flight build of your app and we will fully test the CrowdGlow functionality to verify correct integration.
Upon submission to the app store, Apple may request a video demo of your app working with the light show as it is functionality they are unable to review themselves as they do not have a CrowdGlow system available. You can see an example demo video we have previously used here: https://vimeo.com/771306751/c2927324b4 A simple walk through on a real phone of the exact app version you’re submitting is all they need to see.
Android - Getting Started
Step 1: Add the CrowdGlow module into your app
Add the CrowdGlowSDK.aar file from the SDK to the app/libs directory of your app. You may need to create the libs directory if it is not already there.

Step 2: Add CrowdGlow SDK to your build gradle
Add the following implementation line into your dependancies section of your build.gradle.kts (Module: App)
implementation(files("libs/CrowdGlowSDK.aar"))
Step 3: Add the CrowdGlow View to the root level of your app
Add the CrowdGlow View to the top level of your app. It should be placed on top of all over views at the root level of the app. It is fully transparent and will not block any taps or gestures to your app beneath it. It will only become visible when it receives a light show signal from the CrowdGlow system.
import com.crowdglow.sdk.*

@Composable
fun CrowdGlowView() {
    AndroidView(
        factory = { context ->
            CrowdGlowView(context,
                {  //Light Show Started },
                {  //Light Show Stopped  },
                "CROWDGLOWAPIKEY",
                arrayOf<String>()
            )
        }
    )
}


//Place this view at the highest Z level of your app
CrowdGlowView()
Step 4: Add the CrowdGlow Status View
The CrowdGlow status view can be placed any where you wish in your app, it is a simple status label and button depending on the current CrowdGlow status. It should be placed in a logical location in your app, so the user knows when / where at your event they can use the light show. Ideally this should be a light show / event specific section of the app, and easily found as the user will need to find this status view and tap the “Allow Light Show” button once to be able to take part.
You can pass in colours for the text and button, the view has no background so can easily fit in within your existing app design.
@Composable
fun CrowdGlowStatusView() {
    AndroidView(
        modifier = Modifier
            .fillMaxWidth()
            .wrapContentHeight(),
        factory = { context -> CrowdGlowStatusView(context, "#ffffff", "sans-serif", 16f, Gravity.CENTER, "#007AFF", "#FFFFFF", "sans-serif", 16f, 60) }
    )
}

//Place this view at your preferred location in your app
CrowdGlowStatusView()
Step 5: Copy Gobo assets
Copy the contents of the Gobo Assets folder in the Android SDK folder into your apps res/drawable directory. You may customize or add any additional gobo files up to a maximum of 255 pngs gobos.

Step 6: Add permissions to your Android Manifest
The CrowdGlow SDK requires the following permissions to be added to your app AndroidManifest.xml
<uses-permission android:name="android.permission.BLUETOOTH" android:maxSdkVersion="30" />
<uses-permission android:name="android.permission.BLUETOOTH_ADMIN" android:maxSdkVersion="30" />
<uses-permission android:name="android.permission.BLUETOOTH_SCAN" android:usesPermissionFlags="neverForLocation" />
<uses-permission android:name="android.permission.BLUETOOTH_CONNECT" android:usesPermissionFlags="neverForLocation" />
<uses-permission android:name="android.permission.LOCATION" android:maxSdkVersion="30"/>
<uses-permission android:name="android.permission.ACCESS_FINE_LOCATION" android:maxSdkVersion="30"/>
<uses-permission android:name="android.permission.VIBRATE" />
<uses-permission android:name="android.permission.FLASHLIGHT"/>

Step 7: Test & Build your app for the Google Play store
You can now build the app and test the functionality using the CrowdGlow demo transmitter that we have sent you. Additionally, send a copy of your android app build to joe@crowdglow.uk and we will fully test the CrowdGlow functionality to verify correct integration.
Submitting to the Google Play store requires no additional changes, apps including CrowdGlow always sail through review with no questions asked.